Discovering a burst pipe under your house can be a homeowner’s nightmare. Not only can it cause significant damage to your property, but it can also lead to costly repairs if not addressed promptly. In this article, we’ll explore the telltale signs of a burst pipe under your house and provide actionable steps to identify and resolve this issue.
Signs of a Burst Pipe
Water Damage
One of the most obvious signs of a burst pipe is water damage. Look for water stains on walls, ceilings, or floors, especially in areas near plumbing fixtures or pipes. Warped or bubbling paint or wallpaper can also indicate water leaks behind the surface. Additionally, a musty or moldy odor could suggest hidden water damage caused by a burst pipe.
Decreased Water Pressure
If you notice a sudden decrease in water pressure throughout your house, it could be a sign of a burst pipe. Check each faucet and fixture for weak water flow, as this may indicate a leak in the plumbing system. Pay attention to toilets that take longer to refill or showers that produce less water than usual, as these are common symptoms of a burst pipe.
Unexplained Spike in Water Bills
An unexplained increase in your water bills could signal a hidden water leak, possibly caused by a burst pipe under your house. Compare your recent water bills to previous months’ usage to identify any significant discrepancies. Keep in mind that even a small leak from a burst pipe can lead to substantial water wastage and higher utility costs.
Strange Sounds
Listen for unusual sounds, such as hissing, gurgling, or running water when no fixtures are in use. These sounds may indicate water escaping from a burst pipe and traveling through your plumbing system. Pay attention to any new or persistent noises, especially coming from walls, floors, or ceilings near water pipes.
Wet or Soggy Ground
Inspect the area around your house for wet or soggy patches, particularly near the foundation or where water pipes are located. A burst pipe underground can saturate the soil and create visible signs of moisture above ground. Look for puddles, waterlogged areas, or unusually lush vegetation that may indicate water leakage.
Low Water Temperature
A sudden drop in water temperature, especially during colder months, could be a sign of a burst hot water pipe under your house. If you notice that your showers or faucets are producing colder water than usual, despite no changes to your heating system, it’s essential to investigate for potential pipe damage.
Identifying the signs of a burst pipe under your house early can save you from extensive water damage and costly repairs. By staying vigilant and addressing any suspicious symptoms promptly, you can protect your home and plumbing system from the detrimental effects of burst pipes. Remember to consult with a professional plumber for accurate diagnosis and effective solutions if you suspect a burst pipe on your property.
It is also worth knowing, what causes the pipes to burst. So, you can prevent or take care of things that can be controlled and save your money in a future pipe burst or repair. Now, let’s discuss what are the main causes of a pipe burst and a short guide on how you can fix a burst pipe under your house.
Understanding the Causes of Burst Pipe
As temperatures drop during the winter months, the risk of pipes bursting increases, leading to potential water damage and costly repairs for homeowners. Now we will explore the common causes of pipe bursts in winter, providing valuable insights into prevention and mitigation strategies.
Freezing Temperatures
The primary cause of pipe bursts in winter is freezing temperatures. When water inside pipes freezes, it expands, creating immense pressure that can lead to pipe cracks or bursts. This phenomenon is especially common in unheated or poorly insulated areas of a home, such as attics, basements, and crawl spaces.
Inadequate Insulation
Poor insulation around pipes can exacerbate the risk of bursts in winter. Insufficient insulation fails to protect pipes from extreme cold, allowing them to reach freezing temperatures more quickly. It’s crucial to ensure that all exposed pipes, including those in exterior walls and unheated areas, are adequately insulated to prevent freezing and subsequent bursting.
Sudden Temperature Fluctuations
Rapid fluctuations in temperature, commonly experienced during winter, can stress pipes and increase the likelihood of bursts. For example, a warm spell followed by a sudden drop in temperature can cause water inside pipes to freeze and expand rapidly, leading to structural damage. Monitoring weather forecasts and taking proactive measures can help mitigate this risk.
Poor Drainage or Standing Water
Accumulated water in outdoor pipes, gutters, or downspouts can freeze during cold weather, causing blockages and increased pressure within the plumbing system. This pressure buildup can result in pipe bursts, particularly in areas prone to water pooling or inadequate drainage. Regularly clearing debris and ensuring proper drainage can prevent such issues.
Age and Material of Pipes
The age and material of pipes also play a significant role in their susceptibility to bursting in winter. Older pipes, especially those made of materials like galvanized steel or polybutylene, are more prone to corrosion and structural weaknesses. As pipes age, they become increasingly vulnerable to freezing and bursting, necessitating regular inspection and maintenance.
Water Pressure Issues:
High water pressure can strain pipes, making them more susceptible to bursts, particularly in cold weather conditions. Excessive water pressure combined with freezing temperatures can exceed the pipes’ capacity, leading to cracks or ruptures. Installing a pressure regulator and monitoring water pressure levels can help prevent such incidents.
By addressing issues such as inadequate insulation, rapid temperature fluctuations, poor drainage, aging pipes, and water pressure issues, you can significantly reduce the risk of pipe bursts during cold weather. Regular maintenance, insulation upgrades, and professional inspections are key elements in safeguarding your home against winter plumbing emergencies.
Essential Tips to Prevent Pipes from Bursting in Winter
Now, let’s explore the essential tips and strategies to prevent pipes from bursting during the cold winter months, ensuring your peace of mind and the integrity of your plumbing.
Insulate Exposed Pipes:
One of the most effective ways to prevent pipes from bursting in winter is by insulating exposed pipes. Use foam pipe insulation sleeves or wrap pipes with heat tape to provide a protective barrier against freezing temperatures. Focus on pipes in unheated areas, such as attics, basements, and crawl spaces, as they are more vulnerable to cold weather damage.
Maintain Adequate Heating:
Ensure that your home’s heating system is functioning properly and maintains adequate temperatures, especially in areas with plumbing infrastructure. Keep thermostats set to a consistent temperature, even when away from home, to prevent pipes from freezing and bursting due to prolonged exposure to cold conditions.
Seal Air Leaks:
Inspect doors, windows, and any gaps or cracks in your home’s exterior for air leaks that can contribute to colder indoor temperatures. Seal these openings with weatherstripping, caulking, or insulation to improve energy efficiency and maintain a warmer environment that helps protect pipes from freezing.
Allow Faucets to Drip:
On particularly cold nights, allow faucets connected to exposed pipes to drip slowly. The constant flow of water can prevent pipes from freezing by relieving pressure and promoting water circulation. Focus on faucets located along exterior walls or in vulnerable areas prone to freezing.
Keep Cabinet Doors Open:
For plumbing fixtures located against exterior walls, such as under sinks, keep cabinet doors open during cold weather to allow warm air to circulate around pipes. This helps prevent localized cold spots that can lead to pipe freezing and bursting. Ensure adequate ventilation to avoid moisture buildup.
Drain and Winterize Outdoor Plumbing:
Before winter sets in, drain and properly winterize outdoor plumbing fixtures, such as garden hoses, sprinkler systems, and outdoor faucets. Shut off water supply to outdoor lines, drain residual water, and store hoses indoors to prevent freezing and potential damage to connected pipes.
Maintain a Consistent Temperature:
Maintain a consistent temperature throughout your home, including areas with plumbing infrastructure like basements and attics. Use space heaters or heat tape in unheated spaces to prevent temperature fluctuations that can lead to frozen pipes. Consider smart thermostats for remote temperature monitoring and control.
Schedule Regular Inspections:
Schedule regular inspections of your plumbing system, especially before winter, to identify and address any potential issues or vulnerabilities. Look for signs of wear, leaks, or inadequate insulation and take proactive measures to reinforce pipe protection and insulation as needed. Contact us today to schedule your plumbing inspection and ensure a hassle-free winter season.
By implementing these essential tips to prevent pipes from bursting in winter, you can safeguard your home’s plumbing system and avoid the hassle and expense of dealing with burst pipes.
Quick Guide on How to Fix a Burst Pipe Under Your House
Turn Off the Water Supply
The first step in fixing a burst pipe is to shut off the main water supply to your house. Locate the main water valve, typically found near the water meter, and turn it clockwise to shut off the water flow. This will prevent further water damage and allow you to work on repairing the burst pipe.
Drain the Water Lines:
After turning off the water supply, open faucets and fixtures throughout your house to drain any remaining water from the pipes. This step helps reduce pressure in the plumbing system and minimizes the risk of additional leaks or bursts while you address the damaged pipe.
Locate the Burst Pipe:
Carefully inspect your plumbing system to locate the burst pipe under your house. Look for visible signs of water leakage, such as water stains, wet spots, or bulging walls. Trace the water lines from the main supply to identify the exact location of the burst pipe.
Measure and Cut the Pipe:
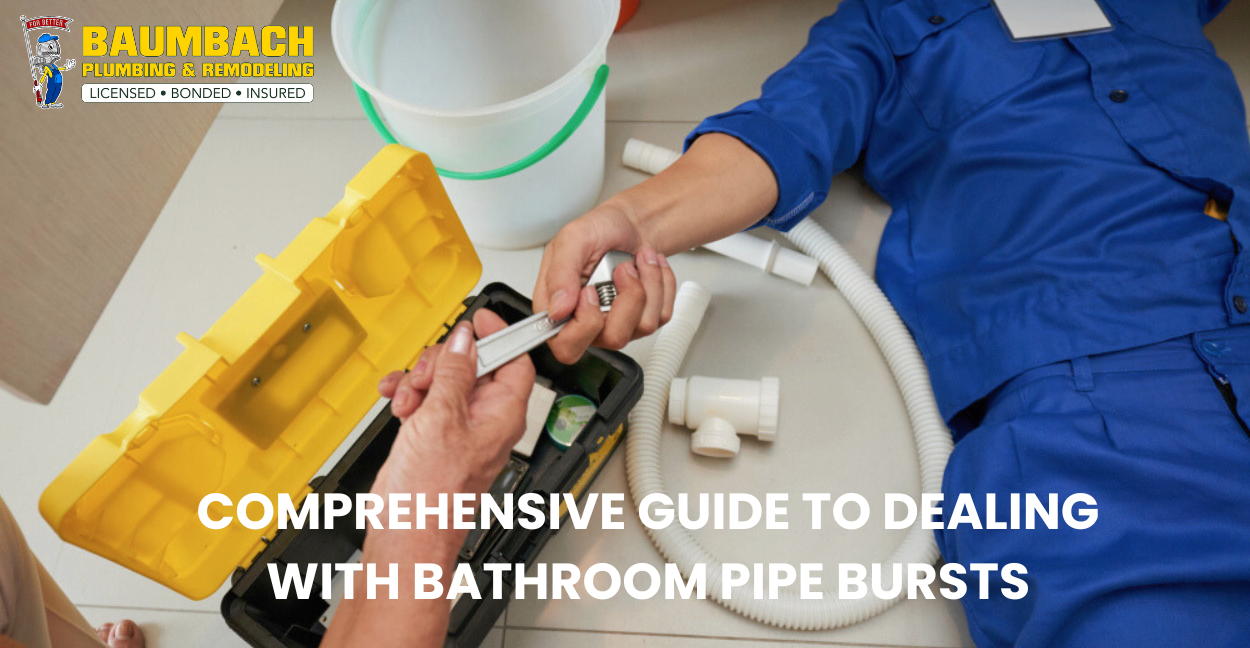
Once you’ve identified the burst pipe, measure the damaged section that needs to be replaced. Use a pipe cutter to cut out the damaged portion, ensuring clean and straight cuts for proper fitting of the replacement pipe. Make sure to wear safety goggles and gloves during this process.
Prepare the Replacement Pipe:
Select a suitable replacement pipe of the same material and diameter as the damaged pipe. Cut the replacement pipe to the measured length, deburr the edges using a pipe reamer or sandpaper, and clean both ends thoroughly with a pipe cleaner or emery cloth. Apply pipe joint compound or plumber’s tape to the pipe threads for a secure seal.
Install the Replacement Pipe:
Attach the replacement pipe to the existing plumbing system using appropriate fittings, such as couplings or compression joints. Tighten the connections securely using a pipe wrench or adjustable wrench, ensuring a leak-free seal. Follow manufacturer instructions and local plumbing codes during installation.
Test the Repaired Pipe:
Once the replacement pipe is securely installed, turn on the main water supply and carefully monitor the repaired section for any leaks or abnormalities. Check all connected fixtures and faucets for proper water flow and pressure. If no leaks are detected, your burst pipe repair is successful.
Insulate and Protect Pipes:
To prevent future pipe bursts, consider insulating exposed pipes, especially in areas prone to freezing temperatures. Use pipe insulation sleeves or wrap pipes with heat tape to provide added protection against cold weather and thermal expansion.
By following these step-by-step instructions, you can tackle burst pipe repairs with confidence and ensure the integrity of your plumbing system. However, if you want to know in detail about “How to repair a burst Pipe” what are the root causes and a detailed step-by-step guide. Then, you can check our blog page. We have written a detailed article on it.
Contact Baumbach Plumbing & Remodeling
If you’ve noticed signs of a burst pipe or are concerned about potential issues, don’t wait until it’s too late. Our plumbing services cover a wide range of needs to ensure your home’s plumbing system is in top condition. From backflow testing and drain cleaning to toilet repair & replacement, burst pipe repair, gas line repair & replacement, and much more, we’ve got you covered. Our experienced team is ready to handle any plumbing issue with efficiency and expertise. Contact us today for reliable plumbing services that you can trust.


