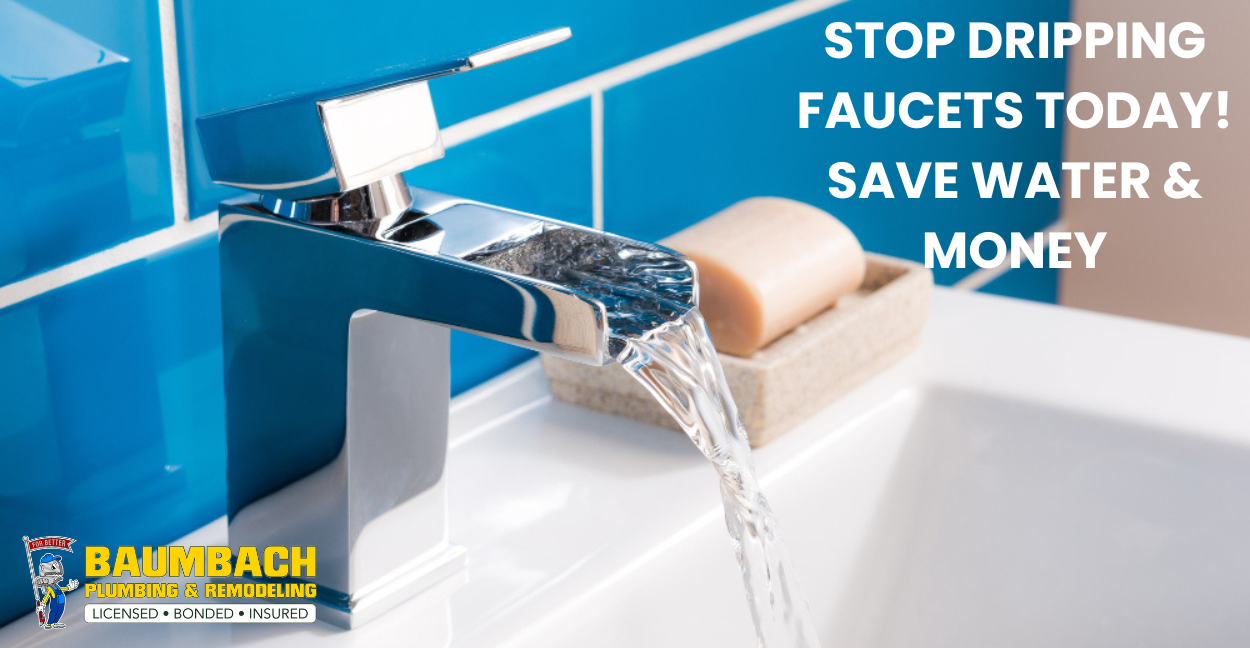
Dripping faucets, often overlooked, can be more than just an annoying sound. They can lead to water wastage, higher utility bills, and even damage to your plumbing system if left unattended. In this article, we will delve deep into the world of dripping faucets, exploring the causes, consequences, and solutions to this common household issue.
Understanding Dripping Faucets
Dripping faucets occur when water continues to leak from the tap even when it is fully closed. This can happen due to various reasons such as worn-out washers, loose parts, high water pressure, or mineral deposits buildup. It’s crucial to identify the root cause to effectively tackle the dripping problem.
Dripping faucets may appear insignificant at first glance, but their consequences can be far-reaching and impactful. Let’s delve into the details of these consequences:
- Water Wastage: The most immediate consequence of a dripping faucet is water wastage. Even a slow drip can add up to a significant amount of water over time. According to the Environmental Protection Agency (EPA), a faucet that drips at a rate of one drip per second can waste more than 3,000 gallons of water in a year. This not only strains local water resources but also contributes to higher water bills for homeowners.
- Increased Utility Bills: The continuous dripping of water translates into higher utility bills. Water utilities charge based on usage, and any excess water wasted through a dripping faucet adds to your monthly expenses. Over time, this can lead to a noticeable increase in your water bill, affecting your household budget.
- Plumbing Damage: Dripping faucets can cause damage to your plumbing system. The constant flow of water can erode seals, washers, and other components, leading to leaks and further water wastage. Additionally, the moisture from dripping faucets can promote mold growth, which can compromise indoor air quality and pose health risks to occupants.
- Stains and Discoloration: The minerals present in water can leave behind stains and discoloration in sinks, tubs, and other fixtures due to continuous dripping. These stains are not only unsightly but also challenging to remove, requiring additional cleaning efforts and potentially harsh chemicals.
- Environmental Impact: Water wastage due to dripping faucets has a direct impact on the environment. It contributes to overall water scarcity issues, especially in regions facing drought or water stress. Conserving water by fixing dripping faucets is a responsible environmental practice that helps conserve a precious resource for future generations.
- Aesthetic and Property Value: Dripping faucets can detract from the aesthetics of your home. Stained fixtures and constant dripping noises can be bothersome and diminish the overall appeal of your living space. Moreover, if you’re looking to sell your property, unresolved dripping faucet issues can lower its perceived value and deter potential buyers.
- Continued Damage and Costly Repairs: Ignoring a dripping faucet can lead to more extensive damage over time. What might have been a minor issue initially can escalate into major plumbing repairs, requiring professional intervention and incurring significant costs. Promptly addressing dripping faucets can save you from these future headaches and expenses.
In essence, the consequences of dripping faucets extend beyond mere inconvenience. They encompass financial implications, environmental concerns, property maintenance, and potential health hazards, highlighting the importance of addressing and resolving dripping faucet issues promptly.
Effective Solutions and Preventive Tips for Dripping Faucets
Identifying the Problem
Before diving into solutions, it’s crucial to understand why faucets drip in the first place. Common causes include worn-out washers, damaged seals, high water pressure, or mineral deposits buildup. Identifying the root cause will guide us toward the most appropriate solution.
Solutions for Dripping Faucets
1.) Replace Worn-Out Washers
One of the primary culprits behind dripping faucets is worn-out washers. These small rubber components deteriorate over time, causing leaks. Replace them with new washers to create a tight seal and stop the dripping.
2.) Fix Damaged Seals and Gaskets
Seals and gaskets play a vital role in preventing leaks. If you notice damage or wear on these parts, replace them promptly to restore the faucet’s functionality and eliminate drips.
3.) Adjust Water Pressure
High water pressure can strain faucet components, leading to leaks. Install a pressure regulator or adjust the pressure at the main valve to a moderate level, reducing stress on the faucet and preventing drips.
4.) Clear Mineral Deposits
Mineral deposits from hard water can accumulate in faucet aerators and other parts, affecting water flow and causing drips. Clean or replace aerators regularly and use vinegar to dissolve mineral buildup in the faucet components.
5.) Tighten Loose Parts
Check for any loose parts such as handles, packing nuts, or spouts. Tighten them securely to ensure a proper seal and prevent water from leaking around the faucet.
Preventive Tips to Avoid Dripping Faucets
Regular Maintenance Checks
Conduct regular inspections of all faucets in your home to detect any signs of leaks or drips early on. Addressing minor issues promptly can prevent them from escalating into major problems.
Don’t wait for a plumbing emergency to strike—call us today to book your personalized assessment and take the first step towards a resilient and reliable plumbing system.
At Baumbach Plumbing, we understand the urgency of such situations and are ready to assist you with our expert plumbing services. Based in Northern Virginia, Baumbach Plumbing takes pride in being a trusted and professional plumbing company in the region. Our commitment to excellence, customer satisfaction, and quality workmanship sets us apart. Call us now at Fairfax: +1 (703)-250-4200, Arlington: +1 (703)-524-1250 or schedule your appointment now.
Use Quality Fixtures
Invest in high-quality faucets and plumbing fixtures that are built to last. Quality materials and craftsmanship can reduce the likelihood of leaks and drips.
Educate Household Members
Teach everyone in your household about water-saving practices and the importance of reporting any plumbing issues immediately. Encourage turning off faucets tightly after use to prevent drips.
Install Water Softener
If you have hard water that contributes to mineral deposits, consider installing a water softener system. Softened water reduces mineral buildup, prolonging the lifespan of your faucets and preventing drips.
Regular Cleaning and Maintenance
Keep faucets clean and free from debris or buildup that can affect their performance. Periodically clean aerators, handles, and spouts to ensure smooth operation and prevent leaks.
By implementing these effective solutions and adopting preventive tips, you can successfully address dripping faucets in your home. Regular maintenance, prompt repairs, and water-saving practices not only eliminate drips but also contribute to a more efficient and sustainable plumbing system.
Essential Tools for DIY Plumbing Repairs
- Adjustable Wrench: A versatile tool used for tightening or loosening nuts and bolts. Choose an adjustable wrench that fits comfortably in your hand and has a wide jaw opening for various pipe sizes.
- Pipe Wrench: Specifically designed for gripping and turning pipes, fittings, and other plumbing components. It provides a secure grip without damaging the pipes’ surface.
- Plumber’s Tape (Teflon Tape): A thin, white tape used to seal pipe threads and prevent leaks in threaded connections. Apply the plumber’s tape clockwise around the male threads before assembling pipes or fittings.
- Plunger: An essential tool for clearing clogged drains and toilets. Choose a plunger with a flange or bell-shaped end for better suction and effectiveness.
- Plumber’s Putty: A sealant used to create watertight seals around plumbing fixtures such as sinks and drains. It remains flexible and prevents water from leaking through gaps.
- Plumbing Snake (Auger): Ideal for clearing stubborn clogs deep within pipes. Use a plumbing snake with a flexible cable and a rotating mechanism to break through blockages.
- Pipe Cutter: Necessary for cutting pipes to the desired length during repairs or installations. Opt for a pipe cutter suitable for the pipe material you’re working with, such as copper or PVC.
- Adjustable Pliers: Useful for gripping and turning pipes, fittings, and small components. Choose adjustable pliers with a comfortable grip and serrated jaws for better traction.
- Bucket and Towels: Essential for containing water and preventing messes during plumbing repairs. Keep a bucket nearby to catch water from disconnected pipes, and use towels to dry surfaces and clean up spills.
- Safety Gear: Always prioritize safety when working on plumbing repairs. Wear protective gloves, safety goggles, and appropriate clothing to prevent injuries and exposure to hazardous materials.
Steps for Fixing Common Leaks and Drips
Step 1: Identify the Source of the Leak
- Examine the affected area to locate the source of the leak or drip. Check under sinks, around faucets, and near exposed pipes for visible signs of water.
Step 2: Turn Off Water Supply
- Before starting any repairs, turn off the water supply to the affected fixture or area. Locate the shut-off valve and turn it clockwise until it’s fully closed to prevent water flow.
Step 3: Gather Necessary Tools and Materials
- Gather the essential tools and materials needed for the repair, including wrenches, plumber’s tape, plumber’s putty, and any replacement parts if required.
Step 4: Disassemble and Inspect
- Use appropriate tools to disassemble the plumbing fixture or component causing the leak. Inspect washers, seals, and connections for damage or wear that may be causing the leak.
Step 5: Replace Faulty Components
- If you identify damaged or worn-out parts such as washers, O-rings, or seals, replace them with new ones. Apply plumber’s tape or plumber’s putty as needed for watertight seals.
Step 6: Reassemble and Test
- Reassemble the plumbing fixture or component carefully, ensuring all connections are tight and secure. Turn on the water supply and test for leaks or drips. Make adjustments if necessary.
Step 7: Clean Up and Check for Leaks
- Clean up any debris or excess sealant from the repair area. Check for leaks again after the repair is complete to confirm that the issue has been resolved.